Creativity & Design Blog Synthesis4/27/2018  http://www.leadershipwithsass.com/2013/07/dont-confine-me/ http://www.leadershipwithsass.com/2013/07/dont-confine-me/ Prior to registering for this course, OILS 420: Creativity and Technical Design, I thought, “This course should be a breeze!” I mean, how hard could creativity actually be? Nevertheless, as I proceeded through this course and through my personal blog posts, I began to understand the challenges surrounding creativity within a structured environment. Creativity itself was not the culprit. The challenge for me was integrating creativity within a technical environment, which placed parameters over my creative process. Normally, creativity is very subjective. The sort of, ‘in the eye of the beholder’ adage. However, within the confines of this course, creativity became a bigger beast and more objective than I had imagined. A confine that I experienced through this creativity course, were the requirements for my blog posts. However, since I have never created a blog prior to this course, this aspect was actually quite welcomed. What I found though was that a lot of the time while creating a post, I began to focus a lot more on the requirements of the post than the content of the post itself.  https://twitter.com/introvertdawn/status/682238430349103104 With that said, I feel that my creative process actually thrived through a more structured approach. This is something I felt hindered my creativity at first. As I reviewed my blog timeline, I realized how structure actually helped me express my creativity; it helped me to communicate my creative process to an audience. I soon realized that the content of my creative posts were meant to tell my story to others, not solely for my own introspective. I reluctantly let go of the, “how can they give me rules for my own creative work?”, and I embraced the idea that I needed guidance to better communicate the inner-workings of my mind to the outside world. Here is a video that also helped me as I explored communicating through this course: Cain,S.(2012) The Power of Introverts, YouTube.com https://www.youtube.com/watch?v=c0KYU2j0TM4 The lessons that I've learned through this course that I will appreciatively use moving forward. As an introvert, I find it difficult to communicate my ideas and self-promotions to an external audience, and to have those ideas make any sense. Through this course, and through my creativity blog, I am now better equipped to tackle this.
Thank you for joining me on this journey! Respectfully, Jason J. Gomez
0 Comments
This week, I wanted to make progress with my problem statement for my final project. A couple weeks ago, I remember seeing a video in another of my OILS courses that I thought would make a great exercise for my staff. Here is how it went. Problem Statement: In transforming its customer service experience, the Welcome Desk will aid in meeting the college’s Strategic Direction plan. The Welcome Desk has several issues it must overcome to better meet this goal. In coming to a solution to meet these standards, the staff at the Welcome Desk will improve the customer relations experience by improving their relations with college partners, improving tasks efficiency, improving service to external partners, and improving prospective student registration completion by the start of the 2018 Fall Term. By tackling these key issues, the Welcome Desk will meet the college’s Strategic Direction. Planned Approach: For my last posting, I explained how I approached transforming customer relations through my focus on internal customer relations. This week, I decided to approach this problem through focus on external customer relations. In the few weeks left for this term, I will focus on a different element of this problem to arrive to a solution. The Peanut Butter and Jelly Sandwich Exercise: A few weeks ago, I saw the following video through another of my OILS courses. It is a video of a dad making a peanut butter and jelly sandwich strictly through the written, exact, and step-by-step instructions of his children. 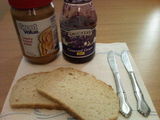 http://www.instructables.com/id/Peanut-Butter-and-Jelly-Sandwich-1/ http://www.instructables.com/id/Peanut-Butter-and-Jelly-Sandwich-1/ The morning of the meeting with these employees, I did not explain the exercise. I simply handed them a sheet of paper with the instructions: "I've heard of this great snack called a peanut butter and jelly sandwich. Can you tell me how to make one?" It was great to see their faces and hear them say, "okay, this sounds fun". So they proceeded in writing their instructions individually. While they were writing, I took out all of the props; peanut butter, jelly, bread, a couple knives, and some napkins. One of the participants had completed in a couple minutes, while the other took a few minutes more. They then handed me their instructions. As I was reading the first one, I myself was surprised. He had written, if you like your sandwich toasted, put the bread in the toaster. I hadn't expected that. So, I simply stated, "I don't know if I'd like it toasted since I've never had one." I then proceeded with the instructions. He wrote, "put the bread on a plate". So, I put the whole loaf of bread on the plate. The next step was, "put peanut butter on bread". So, I put the peanut butter jar on top of the bread (which was still in the bag). "Put jelly on the bread". So, I put the jelly jar on the bread. And so forth. At the end, my sandwich was nothing like I had expected. The two participants did get a laugh though. The second participant had a similar experience, but at least she told me to, "remove two slices of bread from the bag". As you may expect, the end resulted in a peanut butter jar and a jelly jar between two slices of bread. Their faces lit up with the, 'ah, okay....I get it now' expression. I asked them to try the instructions a second time, and then a third. Each time, we had gotten closer and closer to an actual PB&J, but not quite there. After the challenge, I played the video. Here is the video: Josh Darnit, Exact Instructions Challenge - This is why my kids want to kill me Youtube.com https://www.youtube.com/watch?v=cDA3_5982h8 After the video played and after a couple of laughs, I explained to them what my thoughts were. I told them that the exercise was one that showed how often we misjudge others understandings of what we, ourselves already know. That when we make assumptions about another's knowledge, frustrations arise from both sides. I then asked them what their thoughts were of the challenge and what they took from it. They both agreed that it was a "great exercise" and that "it really showed a lot of what they experience" in their daily interactions with students. We also wrote on a whiteboard, many situations that they experience in which assumptions have gotten the best of them. I ended with explaining that each of the situations they wrote, may be resolved by simply being clearer in our interactions with our audience. "Like we're explaining something as simple as making a peanut butter and jelly sandwich." 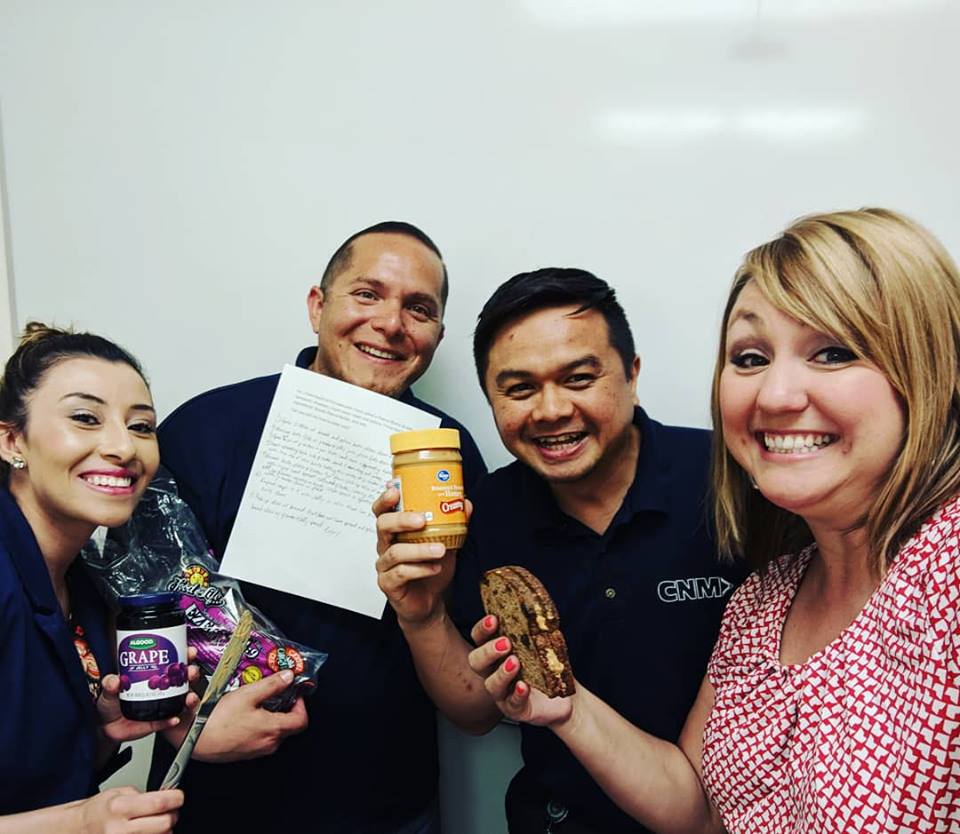 Creative Strategies: Problem Framing I encountered a situation recently in which I used creativity to remedy a dispute between my department and the printing department at work. As part of my OILS 420 final project, I am incorporating, and learning from, this lesson as I set out to improve customer service at the Welcome Desk. The situation I will explain is an example of how I used problem framing to settle a dispute. In this example, my attention was focused on improving customer service by meeting the needs of an internal customer using creative techniques. In the article, "Are your lights on", Gause and Weinberg explain the technique for framing a problem. I used much of this technique to find and come to a solution to a real-world application. I did this by examining problem framing questions such as, "Who has the problem?...What is the problem? Or, at this juncture just what is a problem? (Gause & Weinberg (1990), p.6)." These questions gave me a guide to provide the framework to identify and solve this problem. ******************************************************************************************************* Part of my duties within my position at work is to create, design, and layout our college's business cards. I then prepare a .pdf file of the completed card and send it electronically to our Duplicating and Postal Center (DPC) for printing. I currently process roughly twenty business card orders per week. Our DPC has new management as it's previous manager had passed away in November. I work for the Marketing department and, because of the nature of our print-heavy product, must maintain a great working relationship with the DPC. They print much of the simple print jobs that we produce for the college. It has now been over 3 months since working with the new manager and have not yet had any disputes...until Monday morning. On Monday, I submitted 4 business card layouts to the DPC for printing. About an hour later, I received this email from the Manager. 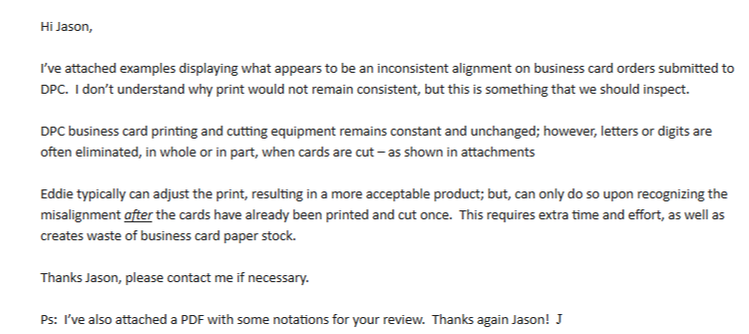 Below is the attachment of the card order that he sent as an example of the misalignment he spoke of. 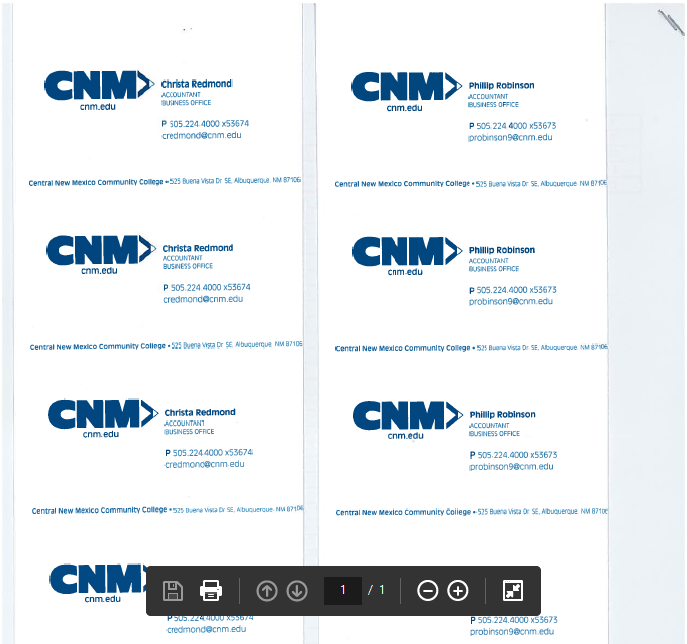 In this example, I could clearly see where the address was shifting after being cut. The type on the address was being cut off. I went to check my Adobe InDesign File to ensure that the misalignment was not due to any adjustments on my design. I also brought this to the attention of my Associate Director. She suggested that it might be that the DPC business card cutter is off, as she did check my file to assure this wasn't the problem. I decided to confirm the print measurements on a hard copy to rule out it being a printing issue. To do this I printed the .pdf file they sent as a sample, manually measured the dimensions of the card, and manually drew out the cut lines. I replied with the following email, and a scan of the measurements that I had manually drawn. 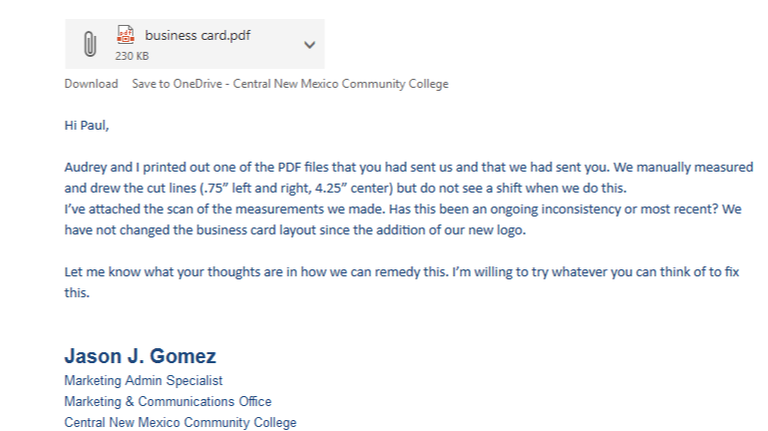 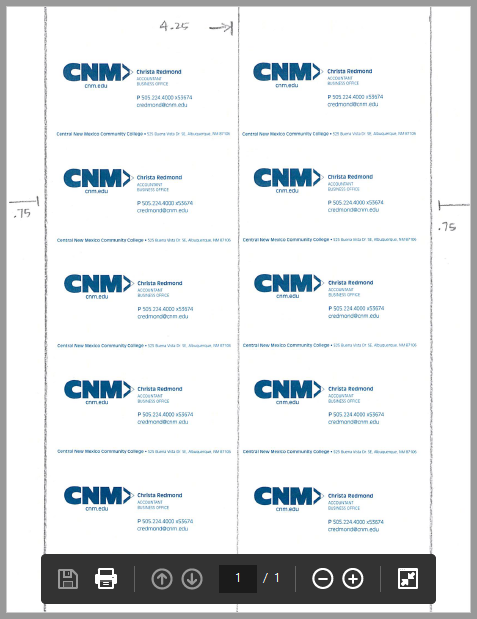 In the scan, it is clear that the cut lines are aligned correctly. I purposely did not shift blame to him being that our social/business interactions are very important to the nature of our business. I did not hear from the Manager after this email. Later that afternoon, the Manager's boss, the Director of Purchasing, came into my office. She was very upset and alluded that I blamed the problem on their production services. I explained that the Manager and I were working through this and that I had emailed him, and that I was willing to do what we could to remedy the situation. She did not budge. She told me that clearly the problem is with my layout, since they have not touched or played with their cutting machine. She then told me to email her the layout and she'll fix it. I let her know that it was produced in Adobe InDesign and that she would need to have this program in order to manipulate the file. She then said that she would find it and that she would fix it. I really do not like heated confrontations, so I remained calm. I told her that I would send her the files she requested. I did suggest that she take the file, print it out on the DPC printers, and cut them on the DPC cutter. This way, we can find where in the process this problem is occurring. She said she would, and left my office. Three days had passed and I did not hear anything from her, or the Manager of DPC. I had nine business card orders that I needed to submit for printing, including one for our college President. So, I asked my Associate Director to accompany me to DPC so that we could work with them on the problem. Once at DPC, we spoke with both the Manager and the Printing employee that handles the business card orders. Luckily, they agreed to work it out. I asked if we could do as I had suggested to his boss; that we go through the complete process to find where the discrepancy was. So, we did. We eventually discovered that the cutter was the source of the problem. It was an 1/8 inch off. So, we suggested that the machine be calibrated. This is when the Manager stated that he did not know how. Below is a video showing the type of cutter in question: Not wanting to cause more rift within the situation, I asked my boss if it was okay to change our layout to shift the cards over 1/8 inch. I did suggest this as a temporary fix until DPC could find someone to calibrate the machine. She agreed. And, so this is what we did.  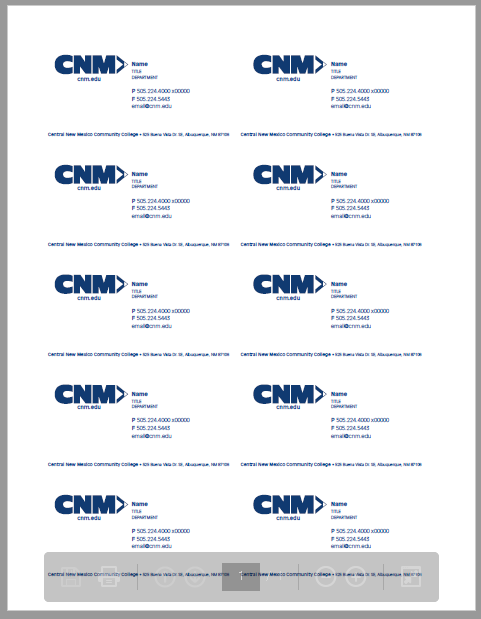 After the DPC Manager tested it, here is his reply: 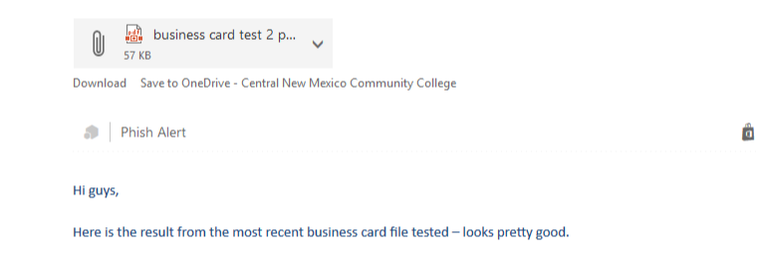 And, here is the scan of the 1/8 "shifted cards that he sent: *This is a scan of the physical cards so, even though the quality is not great, you can see that the address line is no longer cutting off. 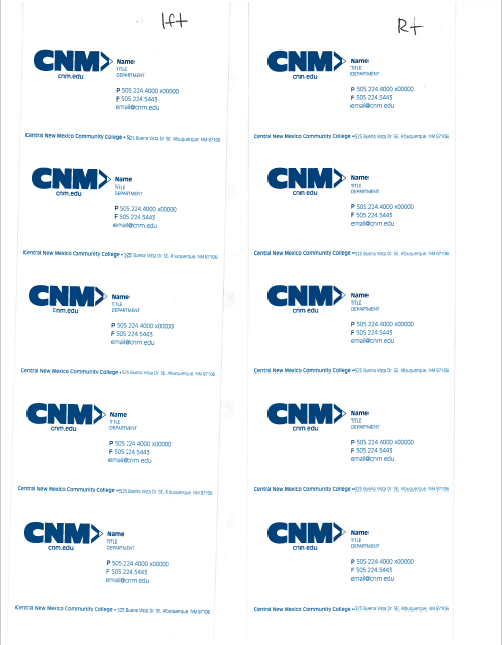 Problem Solved (temporarily)! This is what I learned from this experience: I learned that problems do occur, especially in the type of business that I work in. The key is to allow for some creativity to effectively come up with a solution. Using the problem framing technique, the problem was easier and more efficiently solved. When the Director of Purchasing approached me with hostility, I learned to remain calm and to let a frustrated person leave the conversation with a possible solution. In this way, I could step back and examine the problem at hand. It may not have worked the first time around. But by working together and cooperating on coming up with a solution, any problem can be either solved or improved upon through problem framing. And, even though this is a temporary solution, it is one that keeps business running and improves the customer service experience of the Welcome Desk. References: Gause, D.C., & Weinberg, G.M. (1990). "Are your lights on." Dorset House Spam Musubi2/24/2018 Problem Type: Familiar I was born and raised in Hawai'i and there are many things I miss. One of these is the food. Hawai'i has a unique culinary palette, in part due to the many ethnic cultures that call these islands home. Now, living in the mainland, I have had to find many creative ways to satisfy my comfort cuisine cravings. A lot of the ingredients that were once so common in the islands are either not available, or very hard to find. Items such as taro leaves for lau lau, poi, alaea salt, and of course Aloha brand shoyu; all considered staples of any Hawaiian household. There is one unique Hawaiian food item that I've found actually quite easy to make no matter where I've lived. And this is the infamous Spam Musubi. Every time I've made this and brought it to work, either for breakfast or lunch, It's been a great conversation starter. But, for me, it's just food. I've found a great video on YouTube that shows the types of reactions that I usually get whenever I make Spam Musubi, or any other dish I'm so familiar with. Boldly, (2014), Americans Try Hawaii Food For The First Time, YouTube, www.youtube.com/watch?v=-1oQxlw6_5k Amazingly, though, most of my friends and coworkers have actually really liked the musubi I've made them. And, to my surprise, a lot of my friends that grew up here in New Mexico have grown up on Spam as well. Here's a link to a great article on why Hawaiians love Spam so much. https://www.huffingtonpost.com/Menuism/why-do-hawaiians-love-spam-so-much_b_1901306.html So now on to making one of the best foods in the world...the Spam Musubi: Here are the basic ingredients: Making the Spam Musubi, Instructions: Here is a great video from YouTube that shows my process in greater detail: Aloha To You, (2015), Aloha To You - How to make Spam Musubi, YouTube: https://www.youtube.com/watch?v=kdSwmBlUahk And, voila, there you have it. The Spam Musubi. A quick and easy go-to meal according to any Hawaiian local. 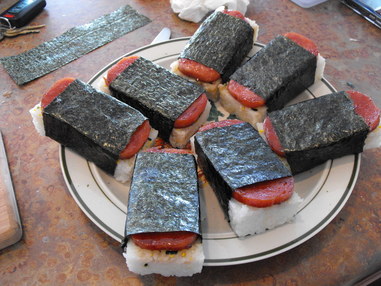 My creative process in creating this "familiar" post differed than my previous posts. Since this was a process that I know, I had to focus on presenting this in a way that would cater to the eyes of viewers that were unfamiliar with the process. Some of the items that I thought were vital in creating this post were:
1. Creating a connection for the viewer. I thought by introducing the idea of comfort foods, the idea of my own comfort food would resonate. 2. Addition of video - The videos that I chose to incorporate were meant to increase engagement. This, I felt, would increase interest in a subject that may not be familiar with my audience. 3. Brief Instruction - The instruction (making the Spam Musubi) section of this post was intended to be brief. I incorporated this from my own experiences. I prefer to see instructions as a guide; to get the "gist" of someones ideas, in my opinion, are enough to see the whole picture. Long drawn out methods are sort of a bore. 4. Leave with the finished product - This sums up all of the preceding information presented. It allows my viewers to see my ultimate goal and the reasoning behind my post. Problem Type: Past I created the "Active Shooter Preparedness Program" video in response to the several devastating shootings on school campuses across the United States. Following the most recent attack on students in Parkland, Florida, I feel that the contents of this video will prepare individuals for such an event. I created this video for my final project in my OILS 472 course in the Spring of 2017. I had integrated most of the contents and procedures in this presentation from the U.S. Department of Homeland Security (www.dhs.gov). Gomez, J. (2017) "Active Shooter Preparedness Presentation" YouTube 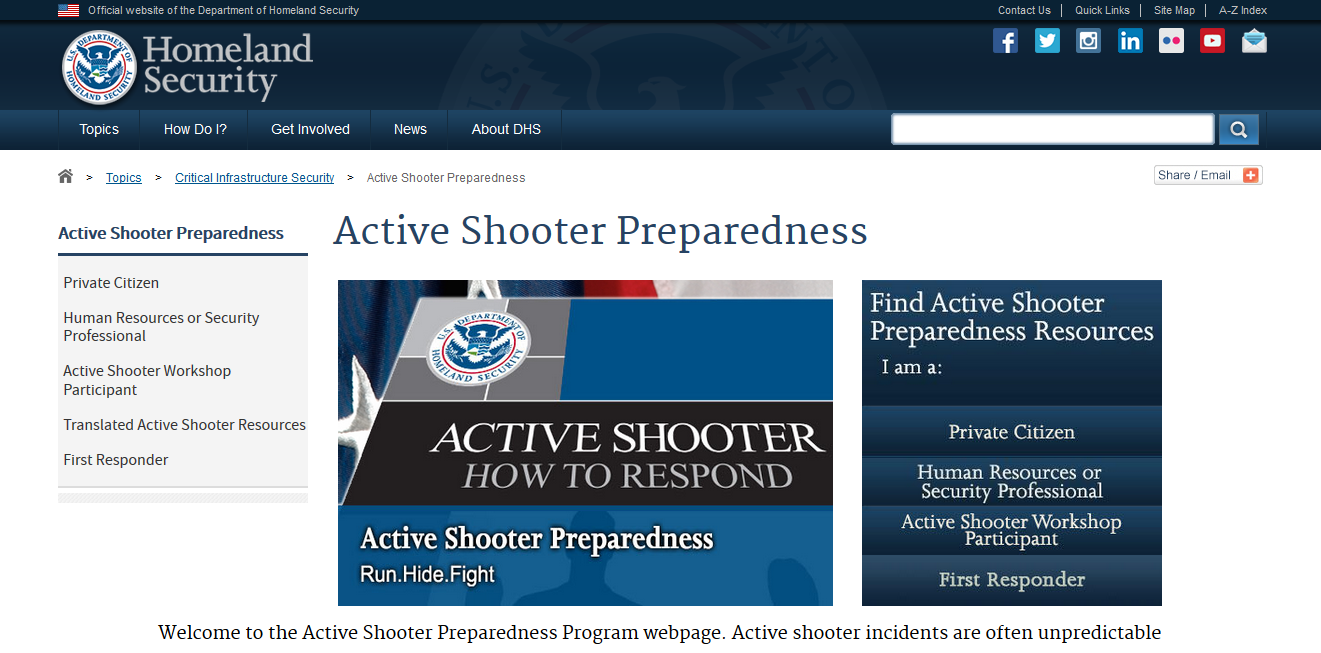 After searching for material for this presentation, I felt that including information from the U.S. Department of Homeland Security was the most responsible and appropriate reference. Being that this agency is the official source of information for active shooter preparedness and training methods, the information I provided in my presentation demanded their vital expertise. I also kept a separate file of source links that I could quickly reference as I proceeded to create this video (pictured below).  In creating this presentation, I first asked myself several questions regarding my audience. What information would be required? How should I present this information? What elements could I incorporate to increase engagement and knowledge transfer? I then answered these questions as I created this program. 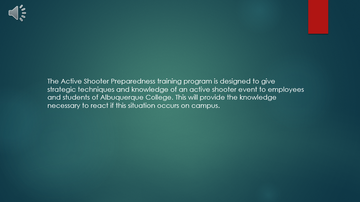 The first step in creating this video was to create the slides. For this, I used MS PowerPoint. At first, the slideshow was simply text and information. Once I was satisfied with the content, I then proceeded to improve the presentation's style. 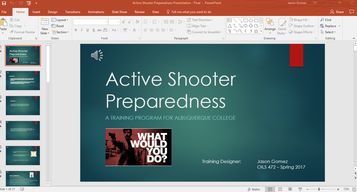 I decided to add elements such as slide transitions, text animations, and visual elements. I felt that these elements were needed to provide interest and to increase viewer engagement. I also felt like the presentation needed an audio aspect to increase engagement. At first, I originally recorded audio in my own voice. But, when I added this to the presentation, it felt and sounded off. So, I scrapped my own voice over and opted for another option. I remembered that I once had an online training in which a robotic voice was used. I searched many sources and tried many options to find the right "voice" for my video. I finally found a free text to voice generator that made the presentation seem more professional and engaging. (http://www.fromtexttospeech.com/) 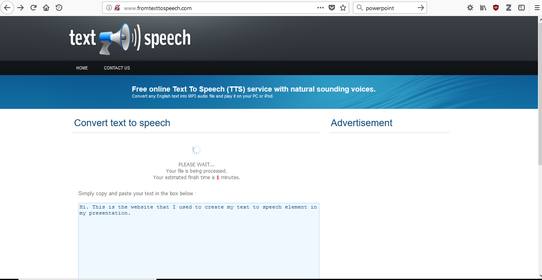 I wanted to add a video to my presentation that would tie all of the information that the viewer had learned. I added the video from the U.S. Department of Homeland Security (listed below). By incorporating this video, it served to increase viewer confidence of the information that I provided in the presentation portion of my video. https://www.dhs.gov/options-consideration-active-shooter-preparedness-video ***This video has since been updated as of July 28, 2017*** I then uploaded this video to my YouTube channel. This decision was made for two reasons; it was too large to upload, and was more easily accessible for viewers. https://www.youtube.com/watch?v=NcZwTbgTUVo&t=32s Making this video presentation was a great learning experience, but very time-consuming as I've never created one before. There were many obstacles that hindered my creative process, such as how to incorporate all of the elements that I envisioned. To overcome these, I found resources for guidance such as YouTube videos, Google searches, and through the MS PowerPoint help feature.
The obstacles that I faced during this project also helped bolster my creativity. I was doing something very foreign and creative thinking allowed me to overcome these with success. When I didn't know how to do something, I had to turn to my creative side to find methods to learn. As a result, is a presentation that I am proud to have worked on. Hopefully, it will be useful in preparing others for such horrific events. My Risky Problem Type.... This past week, I submitted my proposal for my OILS 495: Field Experience, internship paper. This is one of my last three courses prior to graduating with my B.S. in Instructional Technology & Training degree. The first step in the process was to find an internship site in which to complete my field experience. Working at a college, I had tons of options to seek out. But, I narrowed these down to two departments in which I felt I could practice and apply the skills that I've acquired through my OILS education....  When envisioning my internship opportunity, Human Resources felt like the most natural fit. So, I met with the Director of H.R. to explore the possibility. 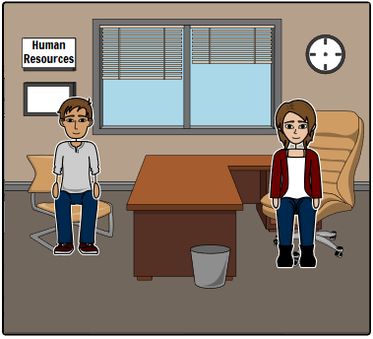 The meeting went well. There was a single project the H.R. Director had in mind; assisting the Talent Manager with the New Employee Training sessions. I thought, 'this is great, it's just up my alley'. I immediately thought, 'done deal...I've found my internship site'! But, something in my gut told me to reach out to my other choice anyway; the College Advancement & Community Engagement team. Having this department as one of my choices satisfied my risky tendencies to try something different. The College Advancement & Community Engagement is a fairly new area of the college, specifically a new department only a month in existence. In fact, it's so new to our organization that it doesn't have a proper name yet. This department in the College Advancement & Community Engagement was created as a result of a college initiative to recruit and retain students. Not knowing exactly how my skills may apply, I met with the Integration Specialist, the newly created department head.  As I sat and talked with Ms. M., she seemed so enthusiastic and upbeat. She asked me tons of questions, 'what interests me...what about my education would I like to explore...what can we do to further your knowledge'?. I explained about what I've done so far in my courses; from creating training proposals, exploring learning tools, to examining my own creativity. I asked her about the department and if she could explain it to me in more detail. She explained that it was all new, even to her...a sort of blank slate. But, she explained, this department if approved by the Executive Team, will definitely change the course of how we approach and manage our students. I was very interested in the thought of being part of something unknown; being part of something so innovative. My gut reached out to me once again, 'ummmm, yeah. This is a special opportunity dummy'! So, in a heartbeat but nervous trepidation, I told Ms. M., 'I really would love the opportunity to be a part of this' 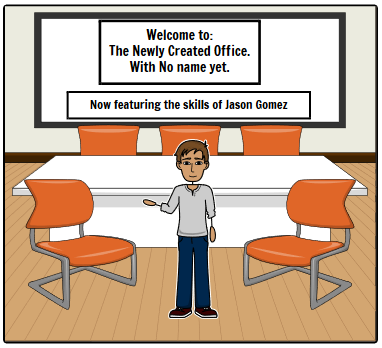 On Thursday, February 8th, I've accepted and internship with the 'Newly Created Office, with no name yet'. I am excited for the possibilities that await me, to challenge myself, and to creatively use the knowledge I've learned thus far in my OILS education. Storyboards Created Online using: www.storyboardthat.com/storyboard-creator
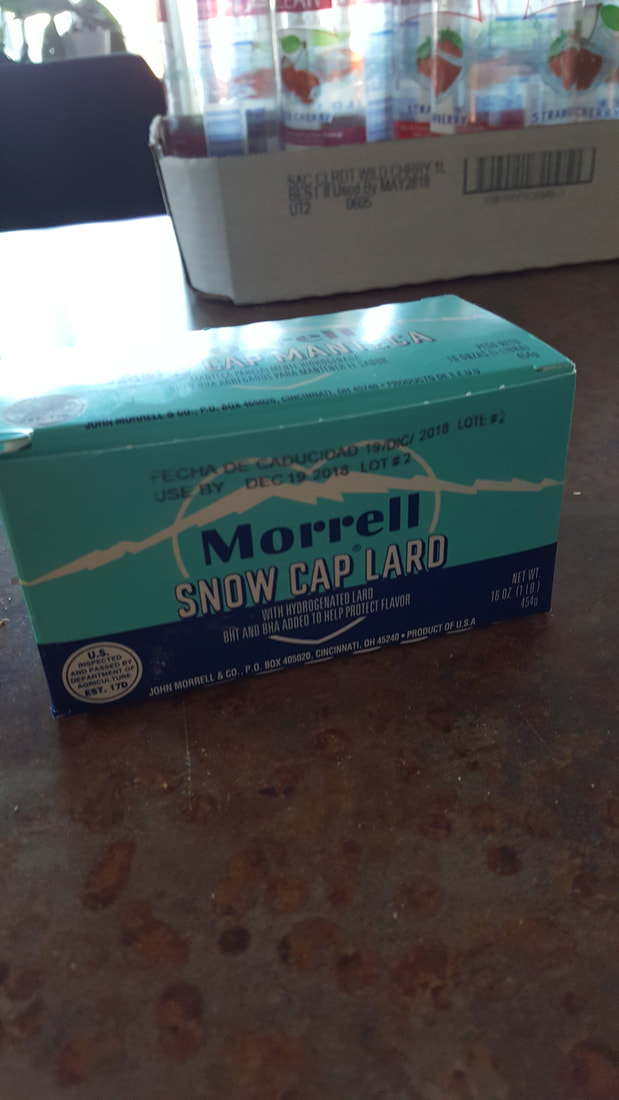
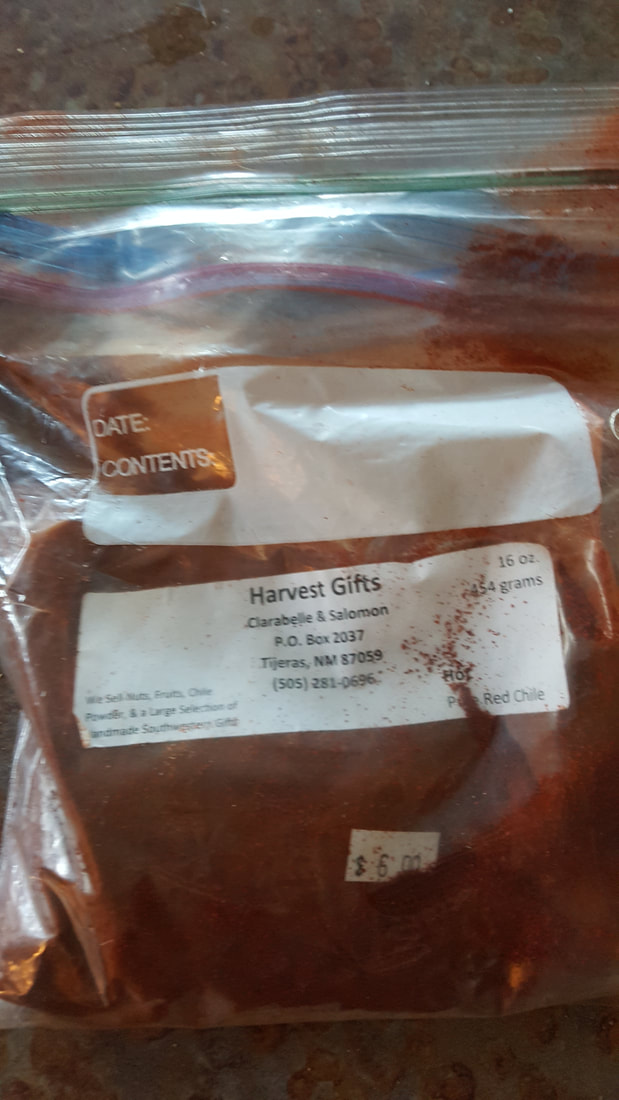
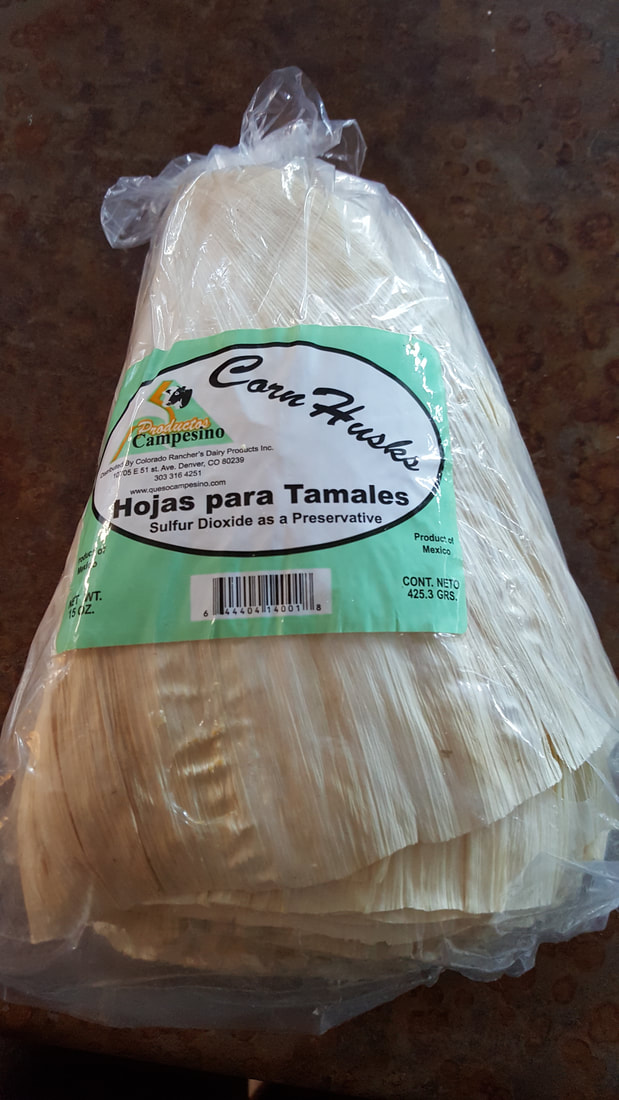
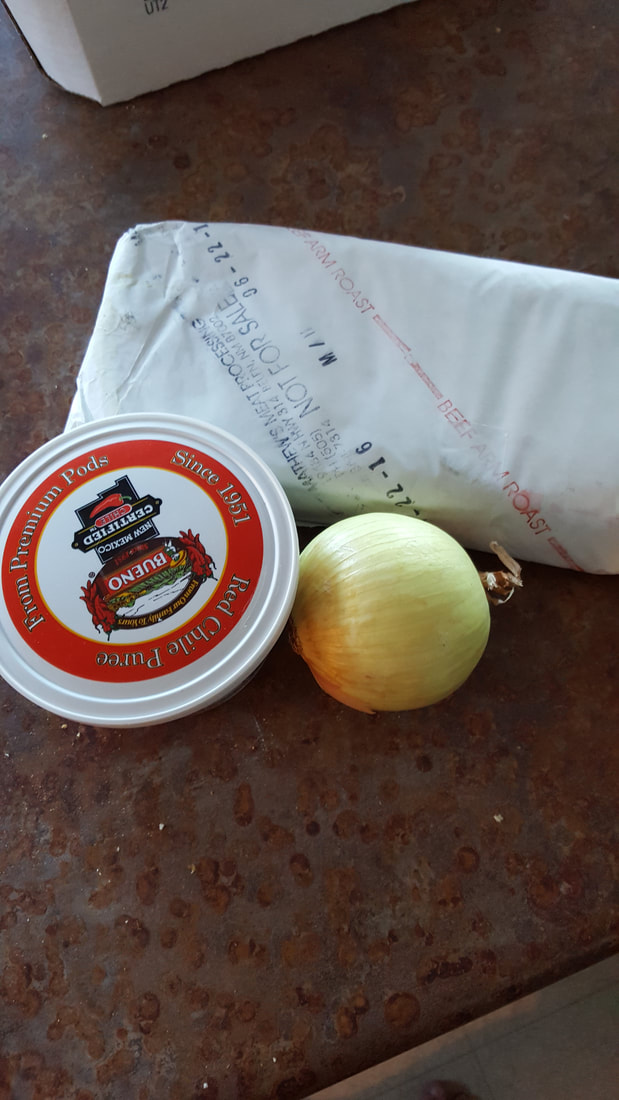
Tamales!2/3/2018 I love tamales. My favorite being from El Modelo on 2nd street in Albuquerque. Ever since I’ve moved to New Mexico, I’ve always heard my friends, coworkers, or the little old lady across the way, talk about making tamales. What intrigued me was when I asked a couple of coworkers some pointers on how they prepared and made their own tamales. I found that each reply was so different than the other. I was thinking to myself, 'dang, this is going to be a long and challenging process!' But, I love eating them…now I need to make them. So, I proceeded into the unknown (problem type) territory and made my own tamales. Here are some of the ingredients that my coworkers suggested I use... I first started by roasting the pork shoulder in a dutch oven for 3 hours. I placed the pork into the pot and poured in enough water to reach 3/4th's up the side of the meat. I chopped a whole onion and added it to the pot. After 3 hours, the meat turned out too tough to shred. So, I decided to boil it on the stove for another 30 minutes, instead of placing it back in the oven to roast. I'm pretty sure that next time I do this, I'll just boil the roast instead as I think it would have saved a lot of time. I then rinsed the corn husks, placed them into a bowl of warm water and set it aside to soak. After boiling, the pork was tender enough to shred easily. I shred the whole thing and saved about 2 cups of the water with the onions. I added the shredded pork, the water, the onions, and the chile powder to a pot on the stove. I let this mixture simmer down until most of the water evaporated. I then started making the masa. For this I used Maseca, lard, and some water. By the way, I am so glad I had one of these to mix the dough.... 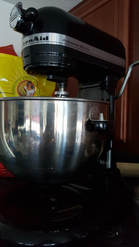 I suggest using a KitchenAid...I found it made mixing the dough to the right consistency so much easier. I started out with 6 cups of Maseca, 1 3/4 cups of lard, and mixed in water until the dough became pliable like an elastic cookie dough. Once done, I began to assemble my tamales. Since this was my first time doing this I had trouble getting the dough and meat mixture to fit correctly into the husks. Frustrated, I found a couple of videos online that led me to success and conquered my frustration. GlobalGrub (2012) How to Assemble Tamales, YouTube I then ended up with over 2 1/2 dozen. Now, I was on to steaming them....a part of the process I wish I'd have prepared more for. I didn't have a pot made for tamales. But, I improvised. I used a high-walled stock pot that I bought years ago to make crab legs and a vegetable steamer basket. 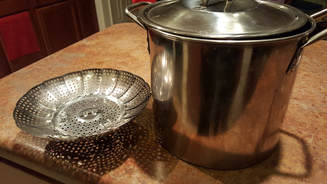 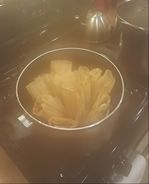 While this did do the job, I'd suggest not using the type of steamer basket I used...The dang tamales kept tipping over into the boiling water. I would suggest finding a steamer insert that has more of a flat surface as this would be more stable. (I've since ordered one on eBay for round 2.) After about an hour of steaming, I checked to see if they were done. I recall a coworker of mine say that when the masa no longer sticks to the husks, they are ready. But, I found my own way to test them...I ate it. And, yes, they were done. And, yes, it was awesome! Here is the finished product: 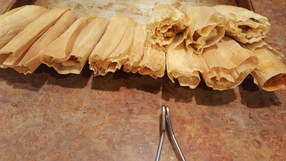 So, my first foray at making the elusive tamale was a success...according to my own taste buds. Creativity helped in this venture in a lot of ways. It helped me in imagining the finished product as I was assembling the tamales. I asked myself, 'will this horrid mess resemble anything like the perfect tamales I adore at El Modelo'? Creativity also helped me improvise while I was in the middle of the process. 'Yikes, I don't have a tamale pot!...Oh well, this will work'. Finally, creativity allowed me to challenge myself to try something I've never done before. And, because of this, my freezer is stocked with bags of deliciousness as a result of my creativity. 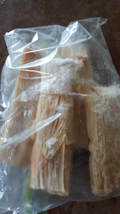 *If you have any questions or can offer any tips about making tamales for my next round, please leave a comment below. Thank you! My Creative Process:
|

 RSS Feed
