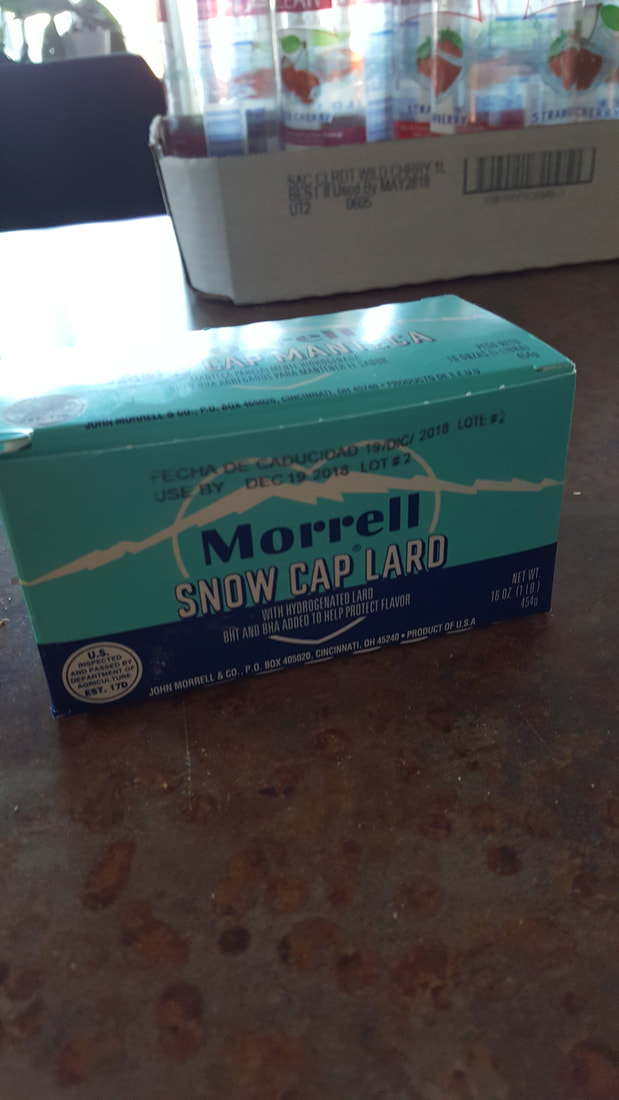
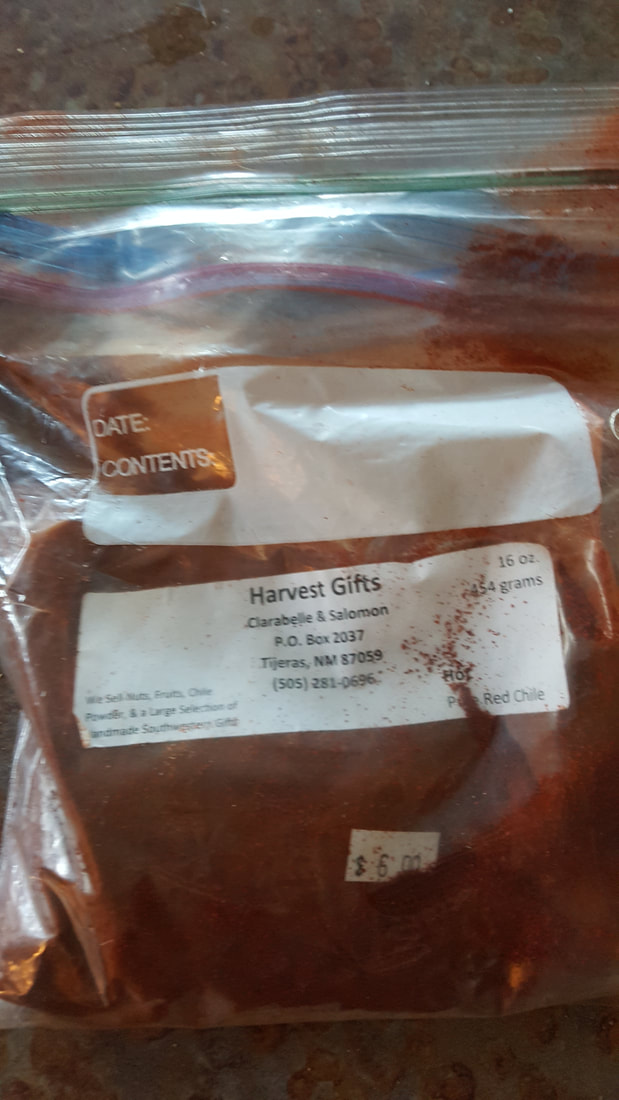
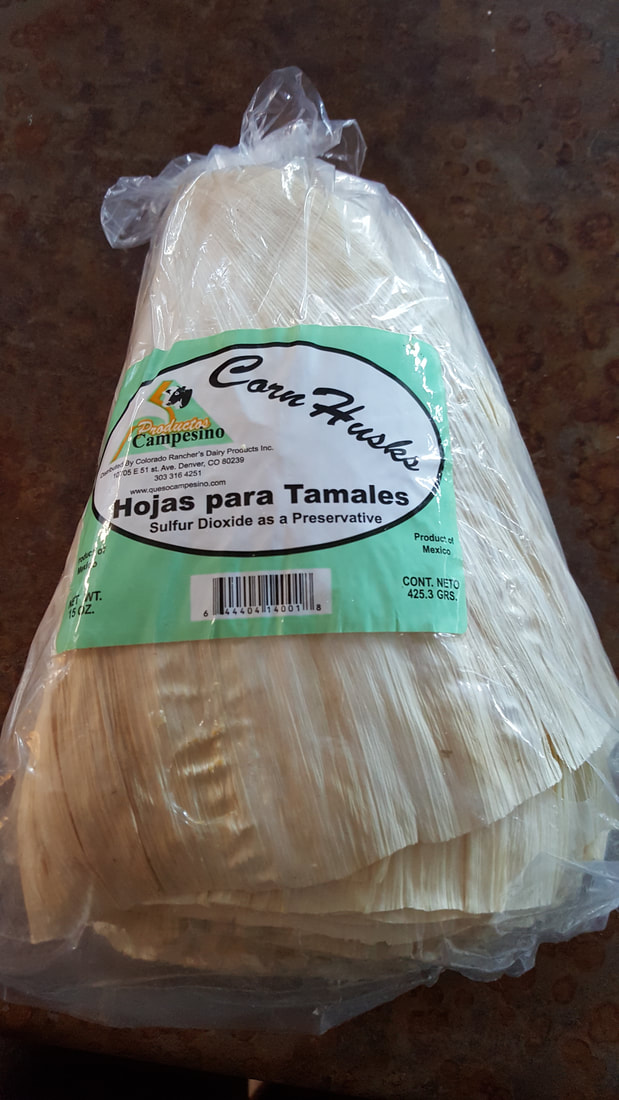
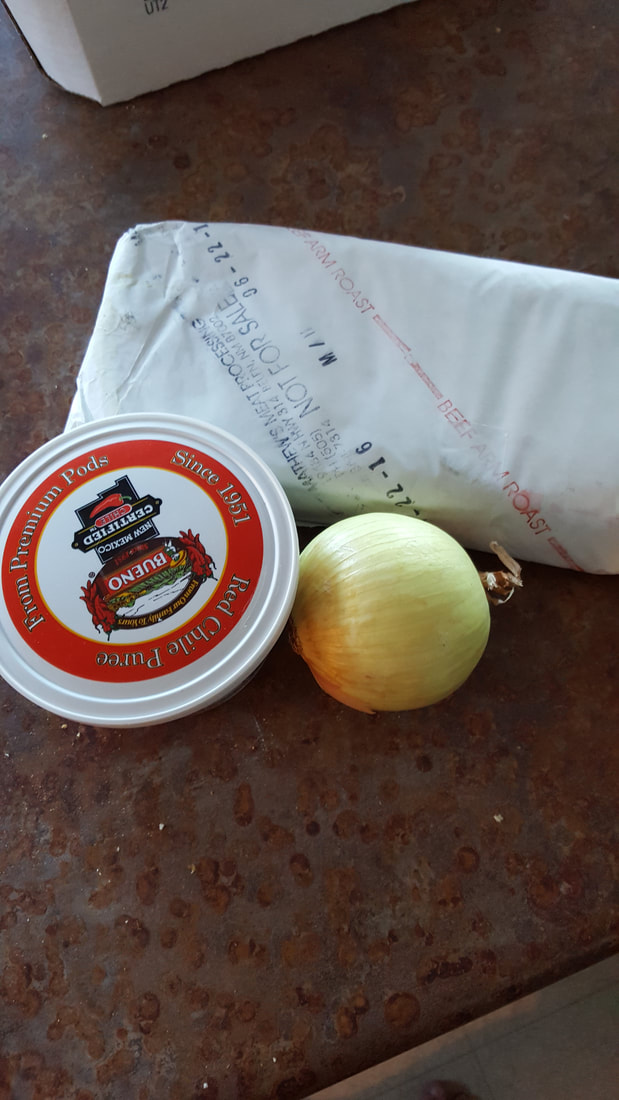
Tamales!2/3/2018 I love tamales. My favorite being from El Modelo on 2nd street in Albuquerque. Ever since I’ve moved to New Mexico, I’ve always heard my friends, coworkers, or the little old lady across the way, talk about making tamales. What intrigued me was when I asked a couple of coworkers some pointers on how they prepared and made their own tamales. I found that each reply was so different than the other. I was thinking to myself, 'dang, this is going to be a long and challenging process!' But, I love eating them…now I need to make them. So, I proceeded into the unknown (problem type) territory and made my own tamales. Here are some of the ingredients that my coworkers suggested I use... I first started by roasting the pork shoulder in a dutch oven for 3 hours. I placed the pork into the pot and poured in enough water to reach 3/4th's up the side of the meat. I chopped a whole onion and added it to the pot. After 3 hours, the meat turned out too tough to shred. So, I decided to boil it on the stove for another 30 minutes, instead of placing it back in the oven to roast. I'm pretty sure that next time I do this, I'll just boil the roast instead as I think it would have saved a lot of time. I then rinsed the corn husks, placed them into a bowl of warm water and set it aside to soak. After boiling, the pork was tender enough to shred easily. I shred the whole thing and saved about 2 cups of the water with the onions. I added the shredded pork, the water, the onions, and the chile powder to a pot on the stove. I let this mixture simmer down until most of the water evaporated. I then started making the masa. For this I used Maseca, lard, and some water. By the way, I am so glad I had one of these to mix the dough.... 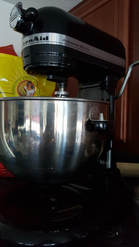 I suggest using a KitchenAid...I found it made mixing the dough to the right consistency so much easier. I started out with 6 cups of Maseca, 1 3/4 cups of lard, and mixed in water until the dough became pliable like an elastic cookie dough. Once done, I began to assemble my tamales. Since this was my first time doing this I had trouble getting the dough and meat mixture to fit correctly into the husks. Frustrated, I found a couple of videos online that led me to success and conquered my frustration. GlobalGrub (2012) How to Assemble Tamales, YouTube I then ended up with over 2 1/2 dozen. Now, I was on to steaming them....a part of the process I wish I'd have prepared more for. I didn't have a pot made for tamales. But, I improvised. I used a high-walled stock pot that I bought years ago to make crab legs and a vegetable steamer basket. 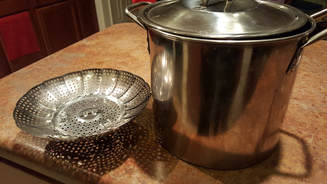 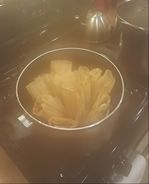 While this did do the job, I'd suggest not using the type of steamer basket I used...The dang tamales kept tipping over into the boiling water. I would suggest finding a steamer insert that has more of a flat surface as this would be more stable. (I've since ordered one on eBay for round 2.) After about an hour of steaming, I checked to see if they were done. I recall a coworker of mine say that when the masa no longer sticks to the husks, they are ready. But, I found my own way to test them...I ate it. And, yes, they were done. And, yes, it was awesome! Here is the finished product: 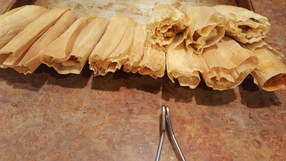 So, my first foray at making the elusive tamale was a success...according to my own taste buds. Creativity helped in this venture in a lot of ways. It helped me in imagining the finished product as I was assembling the tamales. I asked myself, 'will this horrid mess resemble anything like the perfect tamales I adore at El Modelo'? Creativity also helped me improvise while I was in the middle of the process. 'Yikes, I don't have a tamale pot!...Oh well, this will work'. Finally, creativity allowed me to challenge myself to try something I've never done before. And, because of this, my freezer is stocked with bags of deliciousness as a result of my creativity. 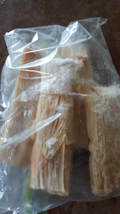 *If you have any questions or can offer any tips about making tamales for my next round, please leave a comment below. Thank you!
0 Comments
Leave a Reply.My Creative Process:
|

 RSS Feed
